

These easy woodworking projects for beginners can be fun and rewarding, especially when you create something with your own hands. Dive into our collection of 12 simple projects designed for newcomers, providing a mix of creativity and practical skills. From handy storage solutions to charming décor items, these projects will help you build confidence and enjoy the craft of woodworking without feeling overwhelmed.
Crafting a Serving Tray
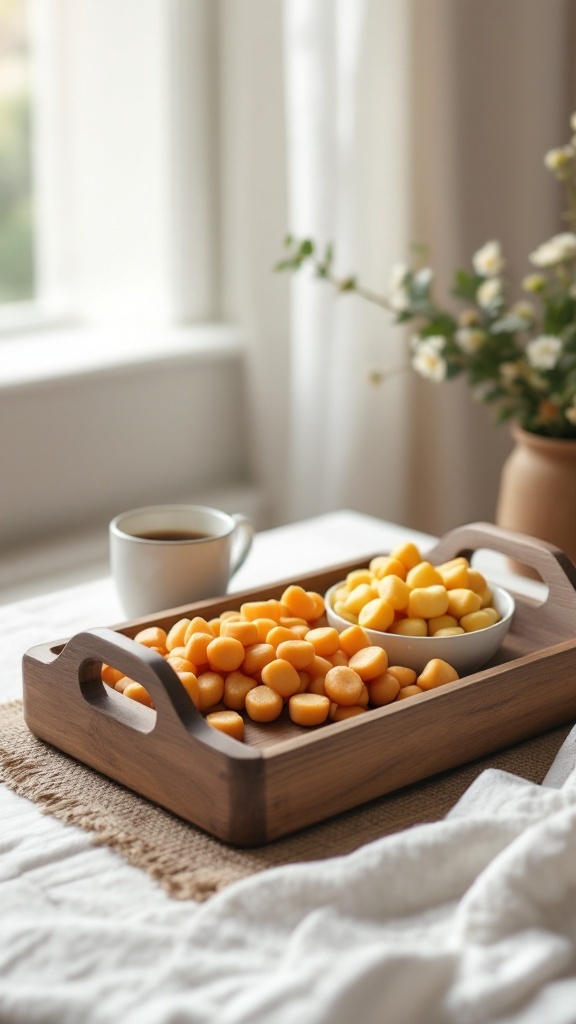
A serving tray is a practical and stylish addition to any home. Not only is it useful for serving snacks or drinks, but it also makes for a charming decorative piece. The image shows a beautifully crafted wooden serving tray filled with vibrant treats, alongside a cozy cup of coffee. It perfectly captures the essence of a warm, inviting space.
Making your own serving tray is simple and rewarding. You can choose your favorite type of wood, whether it’s oak, walnut, or pine, to match your home decor. The design can be as basic or as intricate as you like, making it a flexible project for beginners.
Start by gathering your materials: sandpaper, wood glue, screws, and handles. Cut the wood to your desired size and shape, then smooth the edges with sandpaper. Assemble the tray using glue and screws for stability. Finally, finish it off with a food-safe oil or sealant to protect the wood.
This project not only enhances your woodworking skills but also encourages creativity. You can personalize your tray with unique designs or even add your favorite colors. Imagine serving guests their drinks on a tray you crafted yourself. It’s a delightful way to showcase your handiwork while creating lasting memories.
Building a Basic Bookshelf
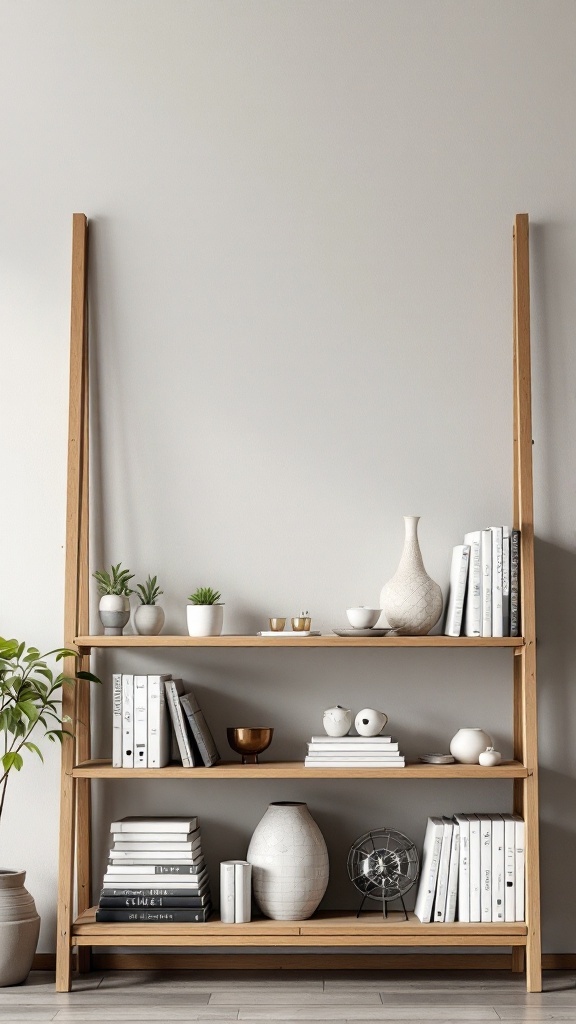
A basic bookshelf is a classic woodworking project that can add both function and style to your home. This project is simple enough for beginners and offers a great way to practice your skills. Plus, once you’ve finished, you’ll have a place to display your favorite books and decor.
The image above showcases a beautifully designed bookshelf with clean lines and a natural wood finish. It features multiple shelves, providing ample space for books, plants, and decorative items. This design is not only practical but also enhances the aesthetic of any room.
When building your bookshelf, start with quality materials like solid wood or plywood. Measure and cut your pieces carefully to ensure a snug fit. Assembly is straightforward, usually requiring wood glue and screws. Sand the edges for a smooth finish, and feel free to customize with paint or stains to match your style.
Don’t forget to secure the bookshelf to the wall for safety, especially if you have kids or pets. With a little time and effort, you’ll create a piece that is both useful and a joy to look at!
Creating Coasters from Wood
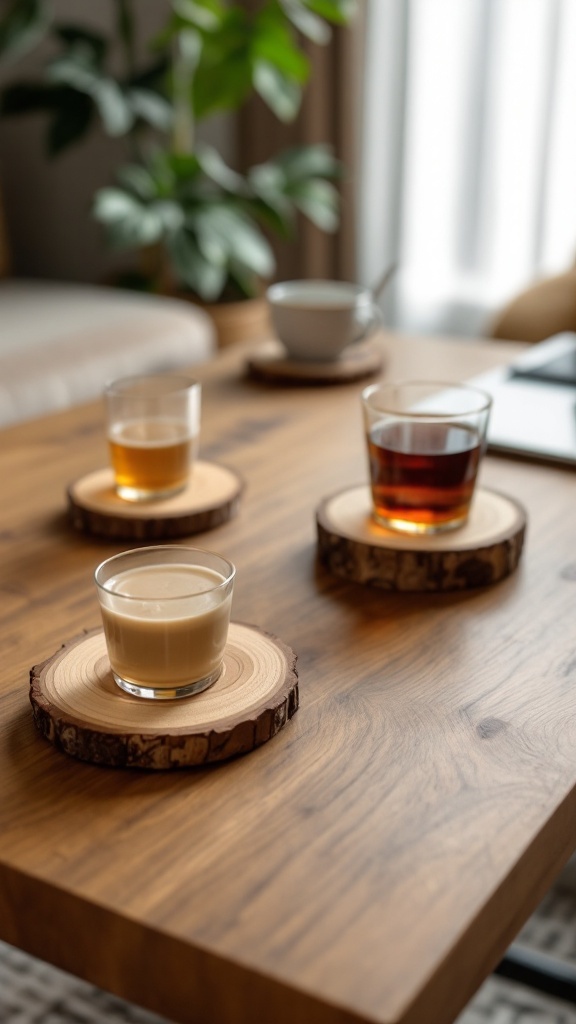
Making coasters from wood is a fun and practical project for any beginner woodworker. These coasters can enhance your living space and protect your furniture at the same time. The image showcases a cozy coffee table setting with several drinks resting on natural wood coasters. The warm tones of the wood add a touch of nature to the room, creating a relaxed vibe.
To create your own wood coasters, you’ll need a few simple materials. Start with some wood slices, which can often be found at craft stores or cut from fallen branches. Sandpaper will be necessary to smooth out any rough edges, and you can finish them with a food-safe sealant for durability.
First, select your wood slices and sand them until they are smooth. This step is crucial, as it prevents any splinters from forming. Once they’re ready, apply a few coats of sealant. This will protect your coasters from moisture and stains. Finally, let them dry completely before using them.
As you can see in the image, these coasters not only serve a practical purpose but also add an aesthetic touch to your home. Whether you’re enjoying a cup of coffee or a refreshing iced tea, homemade wood coasters are sure to impress your guests.
Making a Picture Frame
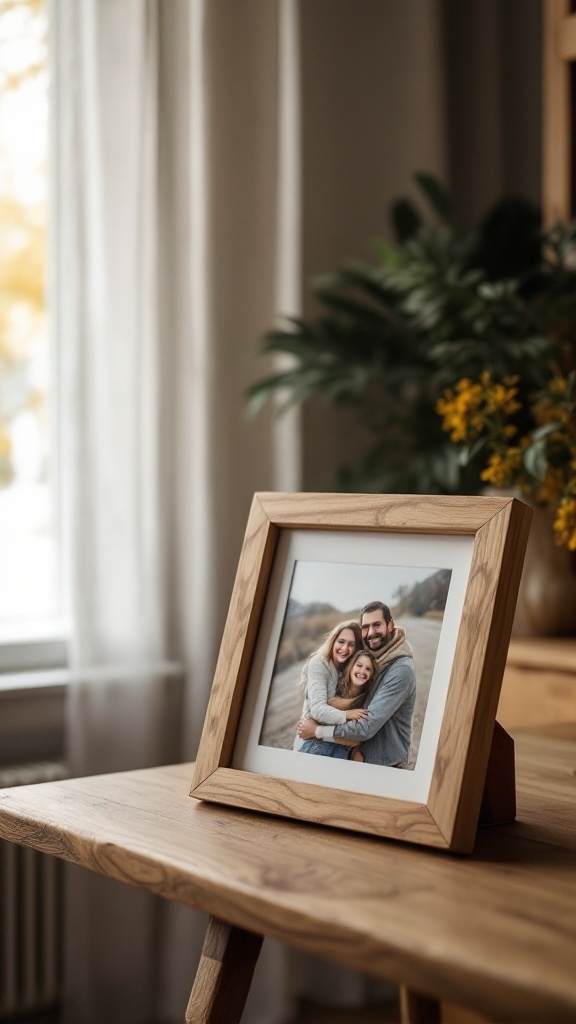
Creating a picture frame is a fun project that allows you to showcase your favorite memories. It’s a simple task that even beginners can tackle with a little guidance and the right materials. The image above features a beautiful wooden frame displaying a cherished family photo, highlighting how a handmade frame can add a personal touch to your décor.
To start, you’ll need some basic supplies: wood pieces for the frame, wood glue, clamps, sandpaper, and some finishing oil or paint if you want to add color. Measure and cut your wood to the size you want your frame to be. A common size is 8×10 inches, but you can customize it to fit any photo.
Once you’ve cut your pieces, assemble them using wood glue. It’s important to ensure everything is aligned correctly. Clamping the frame while it dries will help keep it sturdy. After it’s dried, sand any rough edges to make it smooth and pleasant to touch. Finally, apply your chosen finish to protect the wood and give it a polished look.
Displaying your finished frame can be rewarding. Place it on a shelf, a table, or hang it on the wall. It’s a thoughtful way to capture special moments, just like the photo of the joyful family in the image. Making a picture frame is not just about the photo; it’s about creating something meaningful that reflects your style.
Constructing a Birdhouse
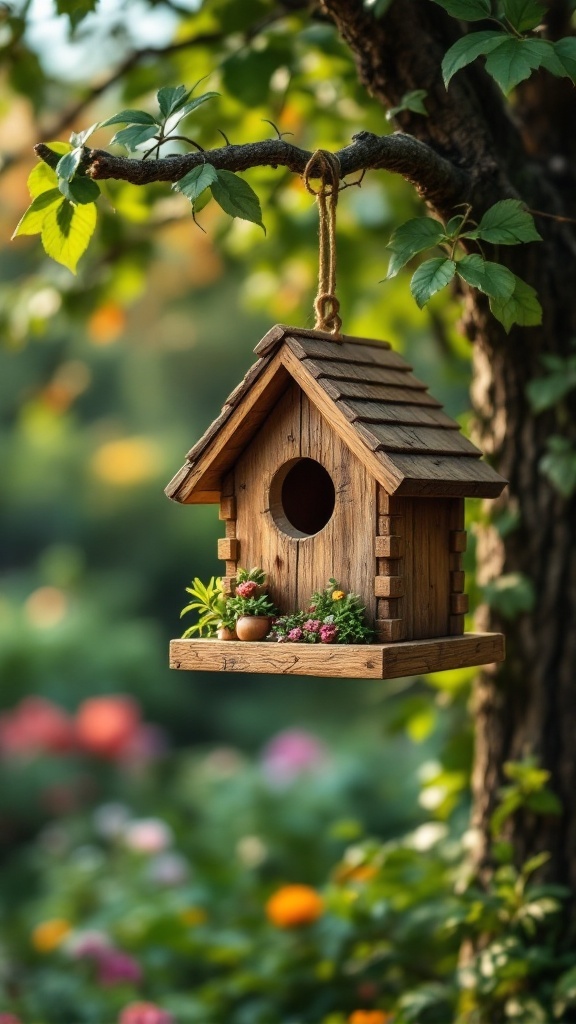
Building a birdhouse is a fun and rewarding woodworking project for beginners. It allows you to create something beautiful that can attract birds to your garden. The image shows a charming birdhouse hanging from a tree branch, surrounded by vibrant flowers. This adds a lovely touch to any outdoor space.
To get started, you’ll need some basic materials like wood, nails, and paint. Choose untreated wood to keep it safe for the birds. The design in the image features a sloped roof, which helps prevent rain from getting inside.
First, cut the wood into panels for the sides, front, back, and roof. Assemble these pieces using nails or wood glue. Don’t forget to create a hole for the entrance; the size will depend on the type of birds you want to attract. After assembling, you might want to decorate your birdhouse with flowers or paint it in cheerful colors, as seen in the picture.
Finally, hang your birdhouse on a sturdy tree branch in a quiet spot, away from predators. With some patience, you may soon have feathered friends visiting your new creation!
Designing a Stool

Designing a stool is a fun and rewarding project for beginners in woodworking. The image shows a beautifully crafted wooden stool that combines simplicity with elegance. Its smooth, rounded shape makes it visually appealing and comfortable to use.
When creating your own stool, consider the materials you’ll use. Solid wood is a great choice for durability and aesthetics. You can select your favorite wood type, whether it’s oak, maple, or pine. Each type has its unique characteristics that can influence the final look.
Next, think about the dimensions. A standard stool height is around 18 inches, but you can customize it to fit your space. The top should be wide enough for comfort, usually about 12 to 18 inches in diameter. Sketching out your design can help you visualize the final product.
Finally, don’t forget about finishing touches. Sanding the surface smooth and applying a wood finish will not only enhance the appearance but also protect the wood. A clear finish will highlight the natural grain, while a stain can add color.
Building a Wine Rack
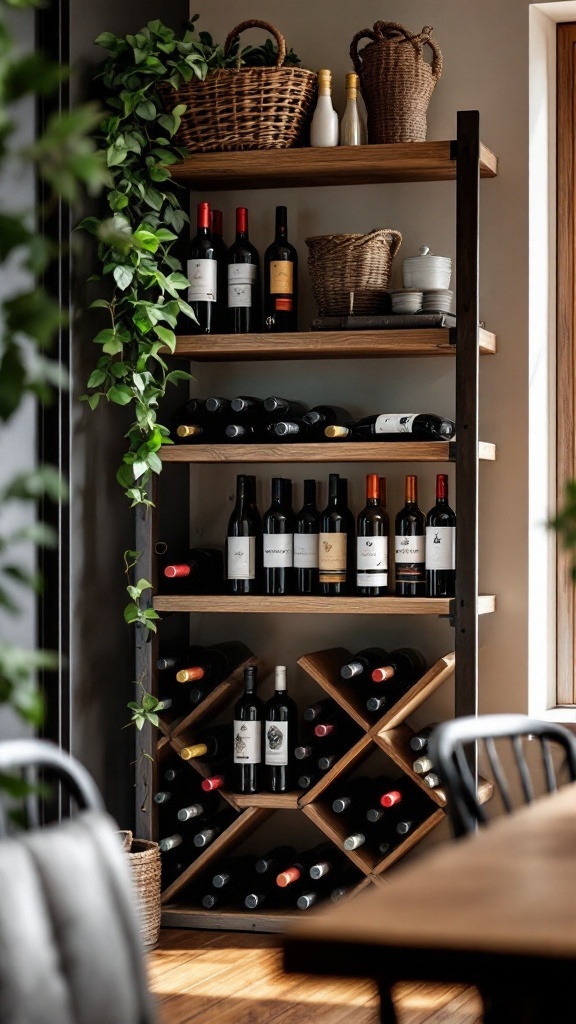
A wine rack is a fun and practical project for anyone new to woodworking. It not only allows you to organize your wine collection but also adds a touch of style to your space.
The image shows a beautifully designed wine rack that combines both functionality and aesthetics. With its sleek lines and natural wood tones, it can fit into any room easily.
To build your own wine rack, you’ll need a few materials like wooden boards, nails, or screws, and a bit of paint or wood stain if you want to personalize it. The design can be simple, featuring horizontal shelves or a more complex arrangement with diamond-shaped slots for the bottles.
Start by measuring the space where you want to place the rack. Cut your wood pieces to size, then assemble them using nails or screws. It’s important to ensure the structure is stable, especially if you plan to store multiple bottles. Finally, finish it with your chosen paint or stain for a complete look.
Not only is this a satisfying project, but it also allows you to showcase your favorite wines while keeping them organized!
Making a Simple Shelf Bracket
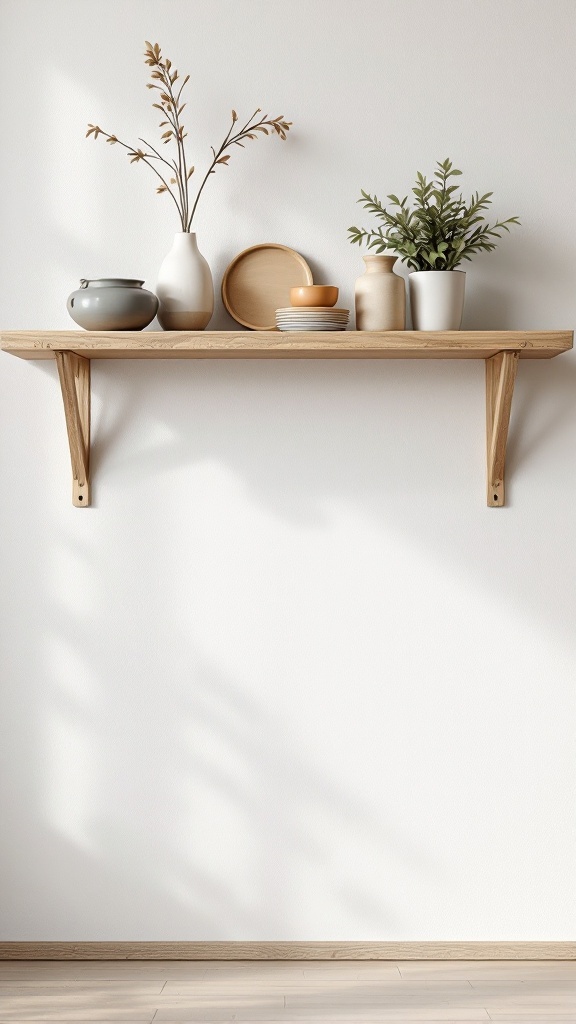
Creating a simple shelf bracket is a perfect project for beginners looking to add functionality and style to their space. In the image, we see a clean and elegant shelf, supported by sturdy brackets, holding a variety of decorative items. The shelf not only provides storage but also enhances the room’s aesthetic, making it a great choice for anyone starting in woodworking.
The design of the bracket is straightforward yet effective. With just a few materials and basic tools, you can create your own brackets to support shelves in your home. This project allows for customization, whether you prefer a more rustic look or a modern finish.
To get started, gather your materials, which typically include wood pieces for the shelf and brackets, wood screws, and a drill. Begin by measuring and cutting the wood to your desired shelf size. Next, you’ll attach the brackets to the wall, ensuring they are level and securely fastened. Once the brackets are in place, mount the shelf on top, and voilà! You have a practical and stylish addition to your home.
Don’t forget to accessorize your new shelf. As shown in the image, adding plants, decorative plates, or vases can make the shelf a focal point in your room. This simple project is not just about utility; it’s also an opportunity for creativity and personalization.
Crafting a Pet Bed
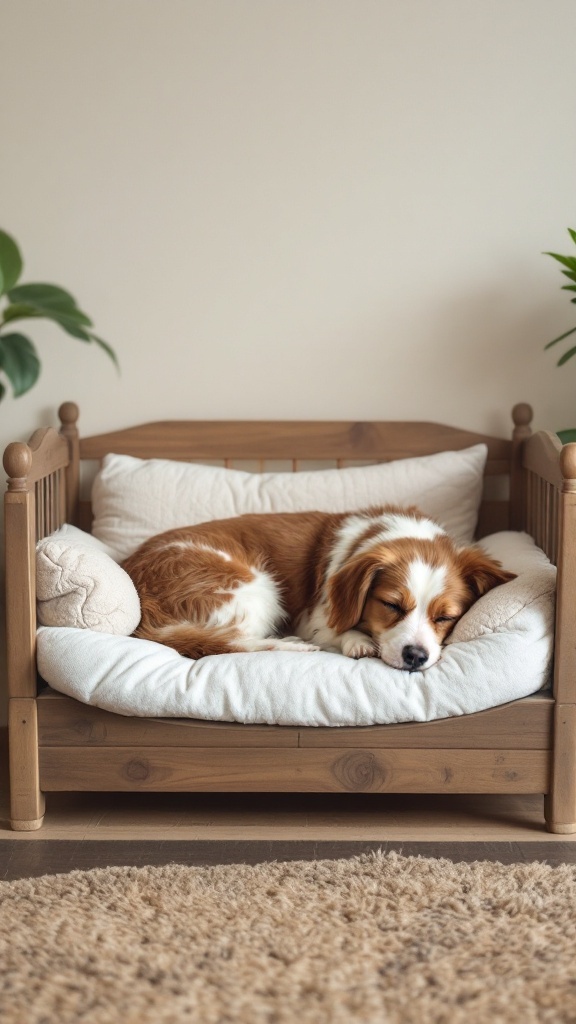
Creating a cozy pet bed is a fun woodworking project that any beginner can tackle. In the image, we see a charming pet bed that features a sturdy wooden frame with soft, comfy cushions. This design not only provides a comfortable spot for your furry friend but also adds a touch of style to your home.
The first step in making your own pet bed is to gather your materials. You’ll need some wood, like pine or plywood, a few cushions for comfort, and some basic tools like a saw and a drill. Simple woodworking skills are all you need to create a bed that your pet will love.
When building the frame, think about the size of your pet. Measure them to ensure the bed is spacious enough. You can customize the height and width to fit your pet’s needs. Once you have your frame assembled, adding the cushions is easy. Look for soft, washable fabrics that will keep your pet comfortable.
This project allows you to express your creativity. You can stain or paint the wood to match your home decor. Plus, your pet will appreciate having their own special space to relax and nap, just like the pup snoozing in the image.
Assembling a Toy Box
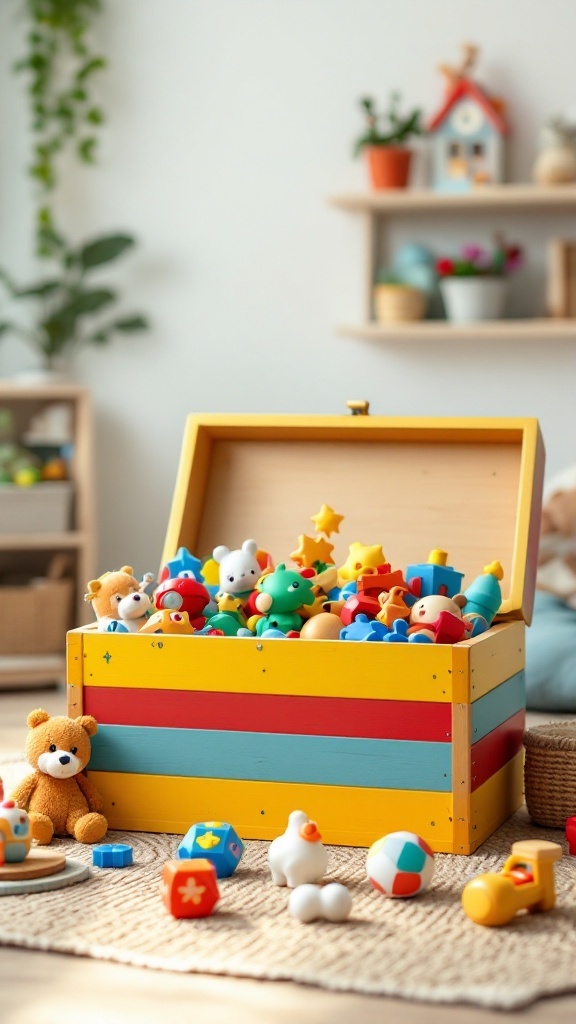
Assembling a toy box is a fun and practical project that anyone can try. This colorful toy box not only serves a purpose but can also add a cheerful touch to a child’s room. With its bright colors and playful design, it’s sure to be a hit!
The first step in creating your toy box is choosing the right materials. You’ll want sturdy wood that can withstand a bit of wear and tear. Plywood is a great option because it’s affordable and easy to work with. Once you have your materials, gather your tools: a saw, hammer, screws, and some paint or wood stain for finishing touches.
Start by cutting the wood to size. You’ll need pieces for the bottom, sides, and lid of the box. Don’t forget to sand the edges to ensure they’re smooth and safe for little hands. Once everything is cut, assemble the box using screws to secure the sides to the bottom. Add a hinge to the lid so it can open and close easily.
Finally, let your creativity shine! Paint or stain the box in colors that match the room’s decor. Consider adding fun designs, like stars or animals, to make it more appealing. Once everything is dry, fill your new toy box with colorful toys, just like the ones seen here. It’s a lovely way to keep things organized while also being a charming addition to the space.
Designing a Key Holder
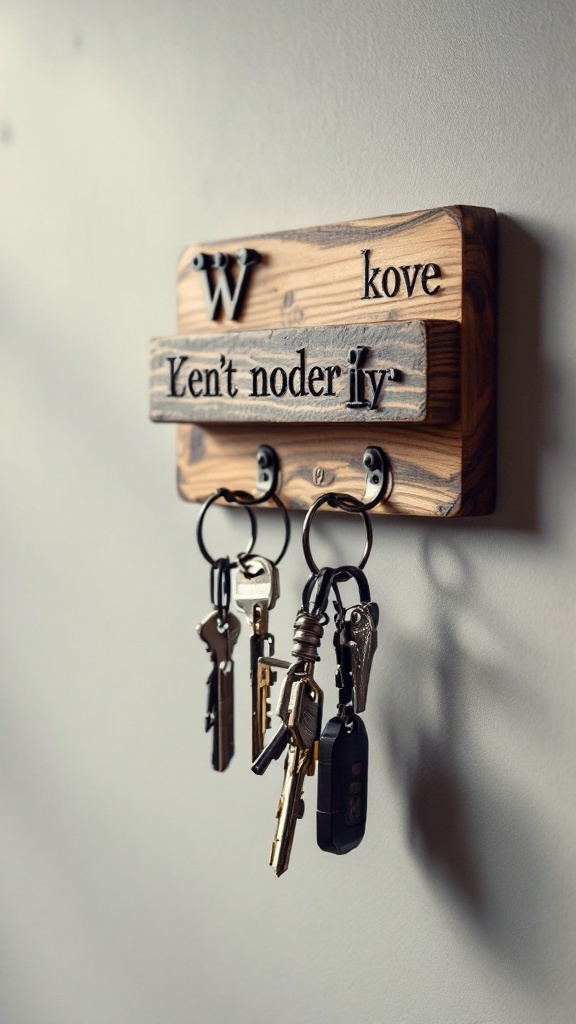
Creating a key holder is a fun and practical woodworking project, perfect for beginners looking to add a personal touch to their home. The image showcases a stylish key holder made from wood, featuring several hooks to keep keys organized and easily accessible.
The design includes a rustic wooden board that is not only functional but also adds character to any entryway. The letters and signs on the board can be customized to reflect your personality or style. This makes it a great decorative piece as well.
When designing your key holder, consider the size and placement. You’ll want it to be easy to reach but also complement your home’s aesthetics. Simple tools and materials like wood, hooks, and some paint or stain will get you started.
Not only will you have a handy spot for your keys, but you’ll also gain the satisfaction of having made it yourself. This project is a great way to dive into woodworking while creating something useful that can help keep your home organized.
Creating a Wooden Planter Box
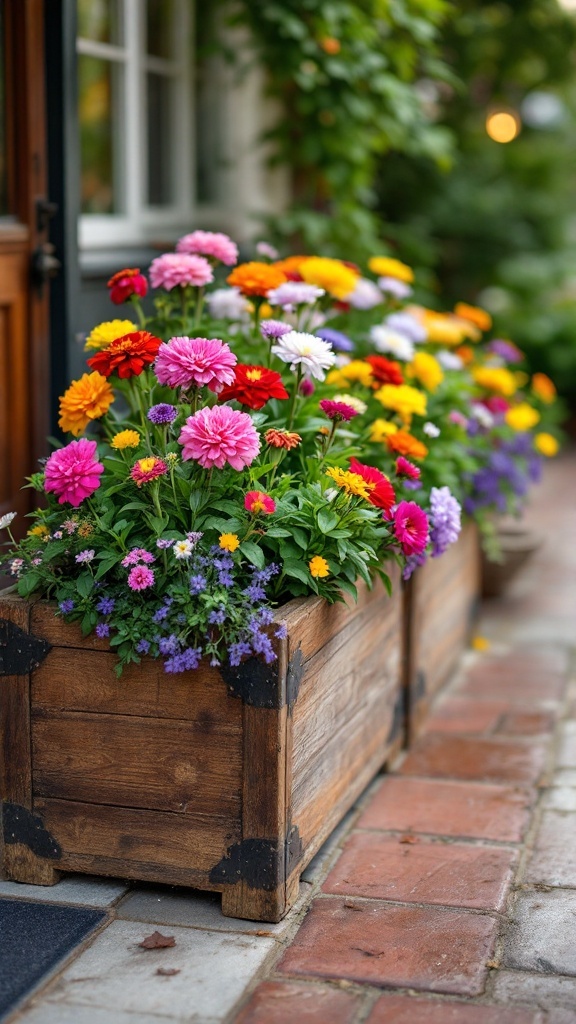
Building a wooden planter box is not just a fun project but also a practical way to add some greenery to your space. As you can see in the image, the wooden planter box is filled with a burst of colorful flowers, creating a lively atmosphere. This project is perfect for beginners, requiring minimal tools and materials.
To start, gather your supplies: wood planks, screws, a drill, and some wood stain or sealant if you want to enhance the look. Measure the size you want your planter box to be, keeping in mind the space where it will sit. A common size is about 4 feet long and 2 feet wide.
Assemble the box by cutting the planks to the desired dimensions. Use screws to secure the corners, making sure everything is tightly fitted. Sand down any rough edges for a smooth finish. If you choose to stain or seal the wood, allow it to dry completely before planting.
Once your wooden planter box is ready, fill it with soil and choose your favorite flowers. The variety shown in the image highlights how delightful a mix of colors can look. This project not only beautifies your space but also gives you a sense of accomplishment. Plus, taking care of the plants is a rewarding experience itself!